
Promoting a book often means moving between communities, draft messages, cover images and live posts. Social promotion is the free AuthorOps workspace that keeps those details together. Save a community and its rules, prepare a post for it, publish on the social network yourself, then return to check replies and record what happened. Your AuthorOps account works across the site; Social promotion does not require a paid plan.
Start here: Open Social promotion. If you are new to AuthorOps, sign in or create an account from the Social Planner card on the free tools page.
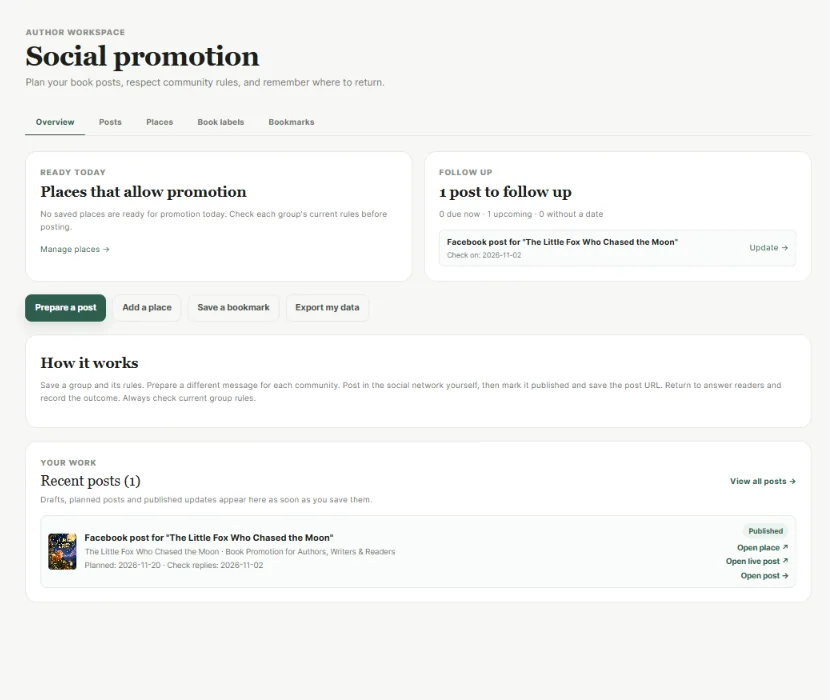
1. Save places where you share your book
Open Places and choose Add place. Enter the community name and URL, then select its platform and type. Add any known promotion days, the minimum number of days between posts, whether the community allows links, and its rules. Select Save place. This works for a Facebook group or another community you use.
The Overview can suggest places that are ready today based on the days and posting gap you entered. Community rules can change, so check them on the original site before every post. You can edit a place as you learn more. The Places list can show 10, 20, 50 or all entries per page.
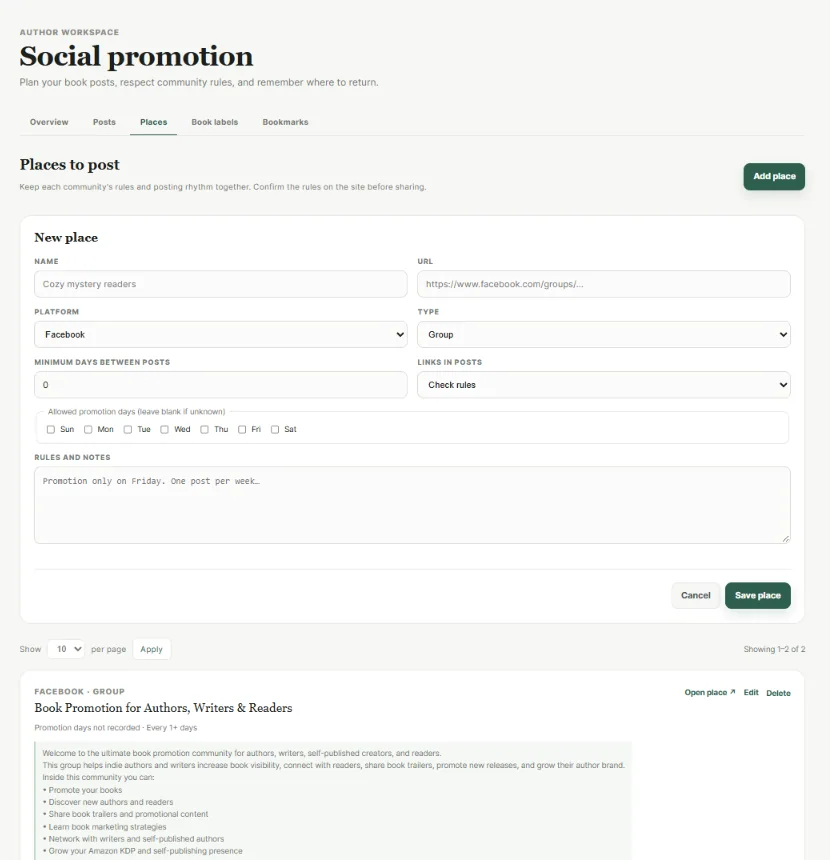
2. Add a book label and an optional image
Open Book labels and choose Add label. Enter a title to group posts for that book. A book label is only for Social promotion: it does not create a book, edition or other item in your publishing workspace. You can also type a new label while preparing a post.
If you have connected your Google Drive in Settings, upload a JPG, PNG or WebP image of up to 20 MB in the Book labels tab. The upload shows progress, and the image appears in Uploaded images. Choose it as a label cover or a post image. You can use Social promotion without connecting Drive. Remove from planner removes the image from this workspace while leaving the file in Drive; Move to Drive trash also moves the Drive file to its trash.
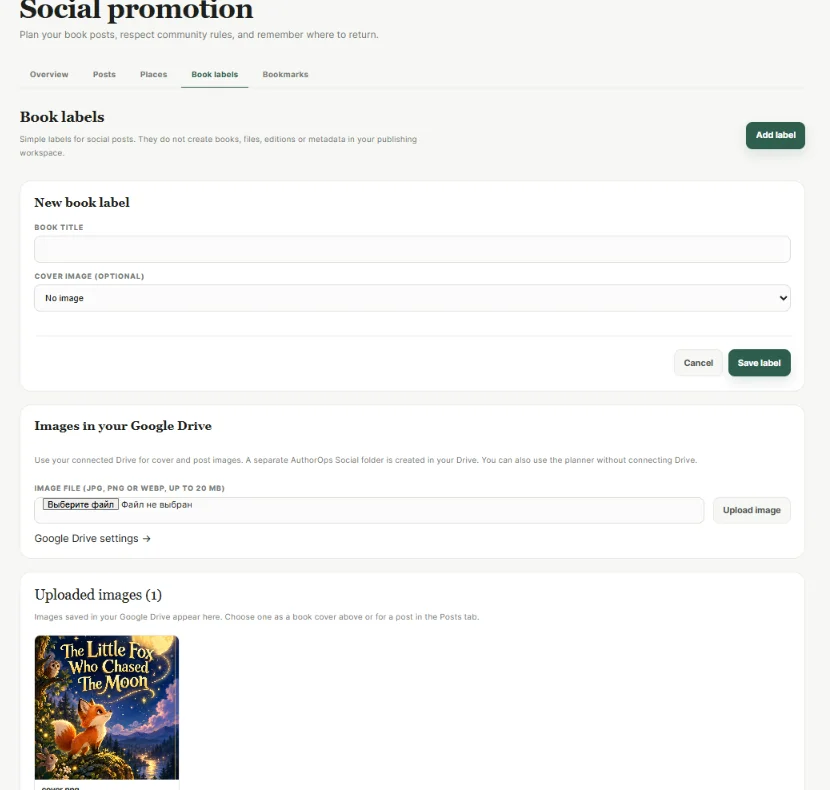
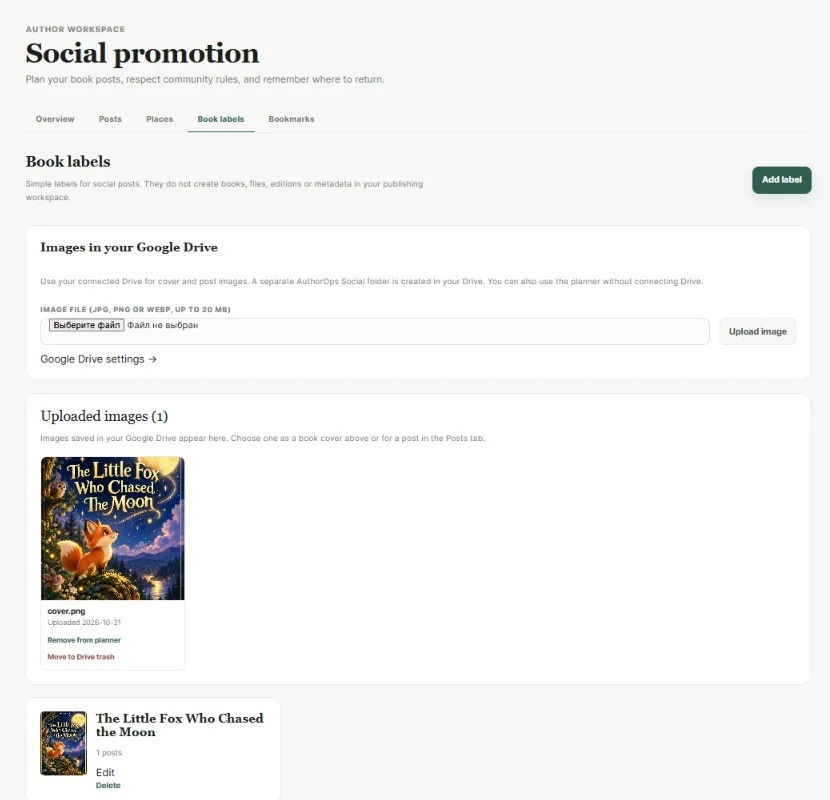
3. Prepare a post for a particular place
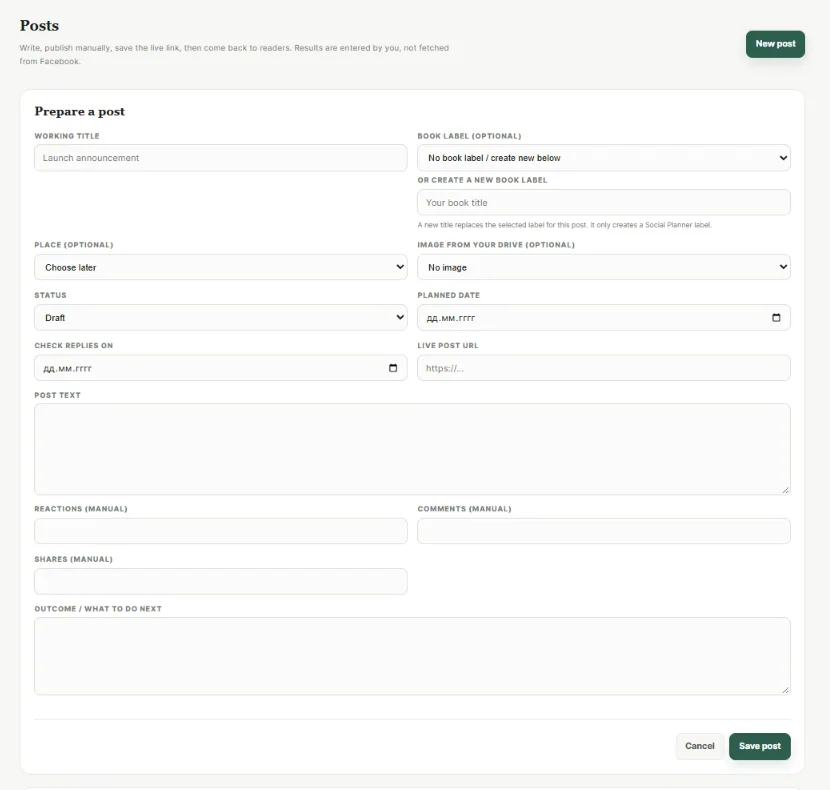
Open Posts and select New post. Give your draft a working title and write the post text. Optionally select a book label, place and image. Choose Draft or Planned, add a planned date and a Check replies on date, then select Save post. The saved post appears in Posts and in Recent posts on Overview.
Write a different message for each community and check its rules first. Use Copy text and Open place to publish manually on the social network. Social promotion does not sign into Facebook on your behalf, publish automatically, or import reactions and comments.
4. Record the live post and follow up
After posting, use Mark published in Posts; if the group is reviewing your submission, use Awaiting approval until it is live. Open Edit / results, paste the live post URL and save. The published date is recorded when you mark it published. If you set a check date, Overview shows it in Follow up as due or upcoming. Recent posts also offers Open place and Open live post when those links exist.
When you return to answer readers, enter reaction, comment and share counts yourself, and write a short outcome or next action. These fields are manual notes; no Facebook statistics are fetched automatically.
5. Save useful websites as bookmarks
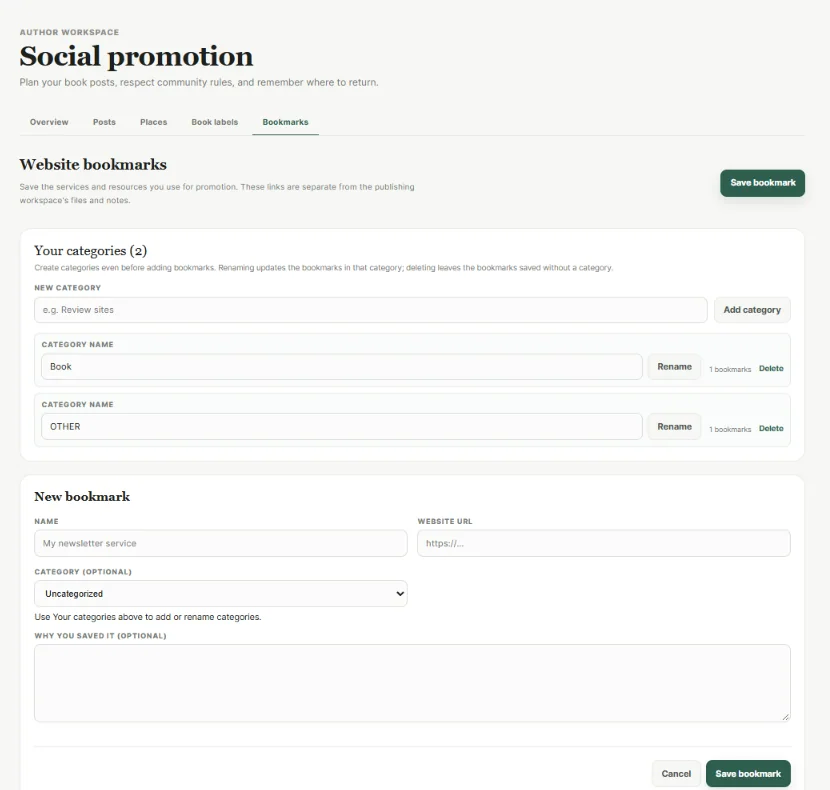
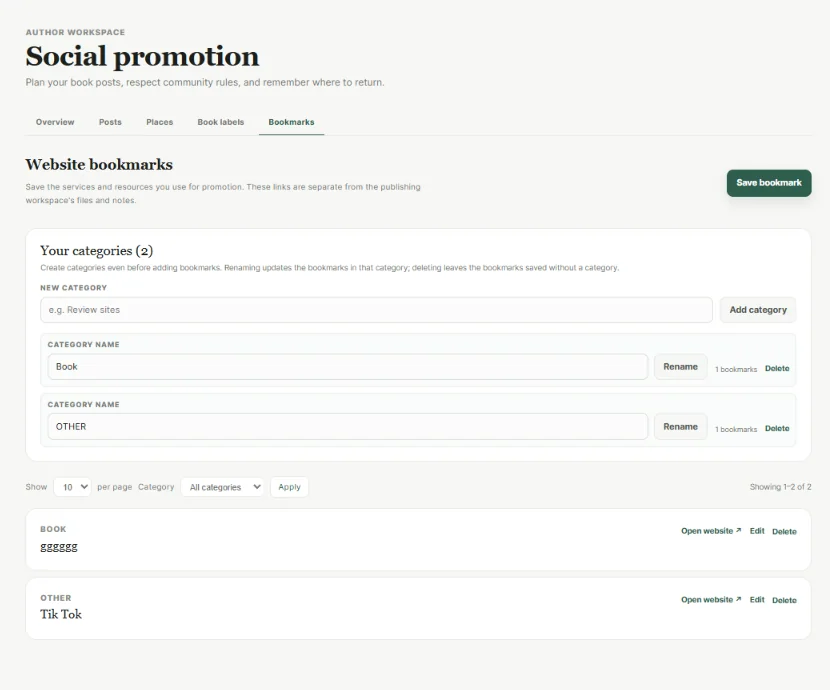
In Bookmarks, create your own categories under Your categories. Choose Save bookmark, enter the website name and URL, select a category if useful, and add a note explaining why you saved it. You can edit or delete bookmarks, rename categories, and filter the list by category. Deleting a category keeps its bookmarks as uncategorized entries. The list can show 10, 20, 50 or all bookmarks per page.
A simple routine to start
- Save one community in Places and check its rules.
- Create a book label if you want to group posts by title.
- Draft one message, add a check date and save it.
- Publish in the community yourself, then save the live URL and mark the post published.
- Return on your check date, respond to readers and record your results.
You can export your Social promotion records from Export my data on Overview. Images remain in your connected Google Drive. Ready to begin? Open Social promotion.